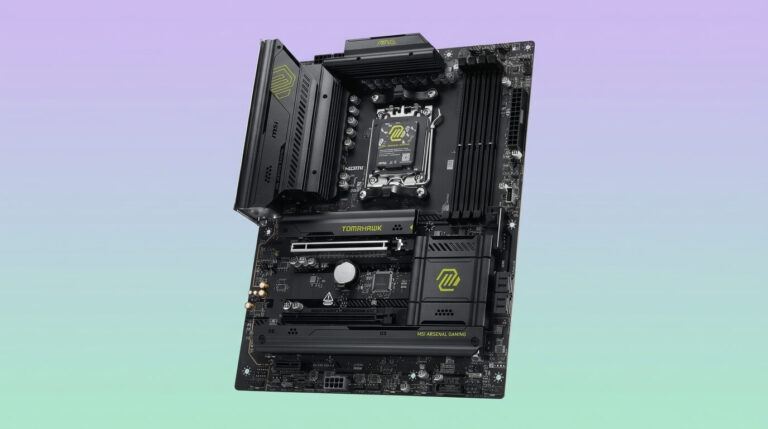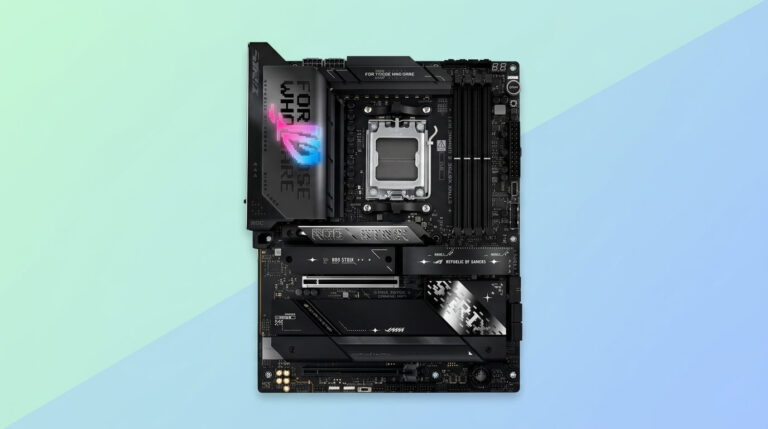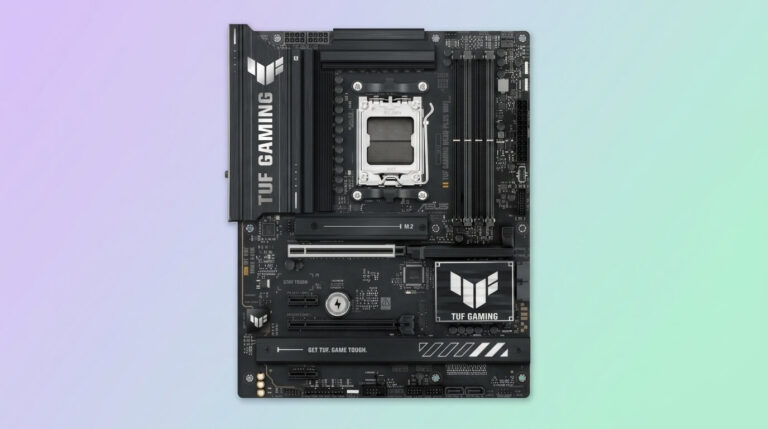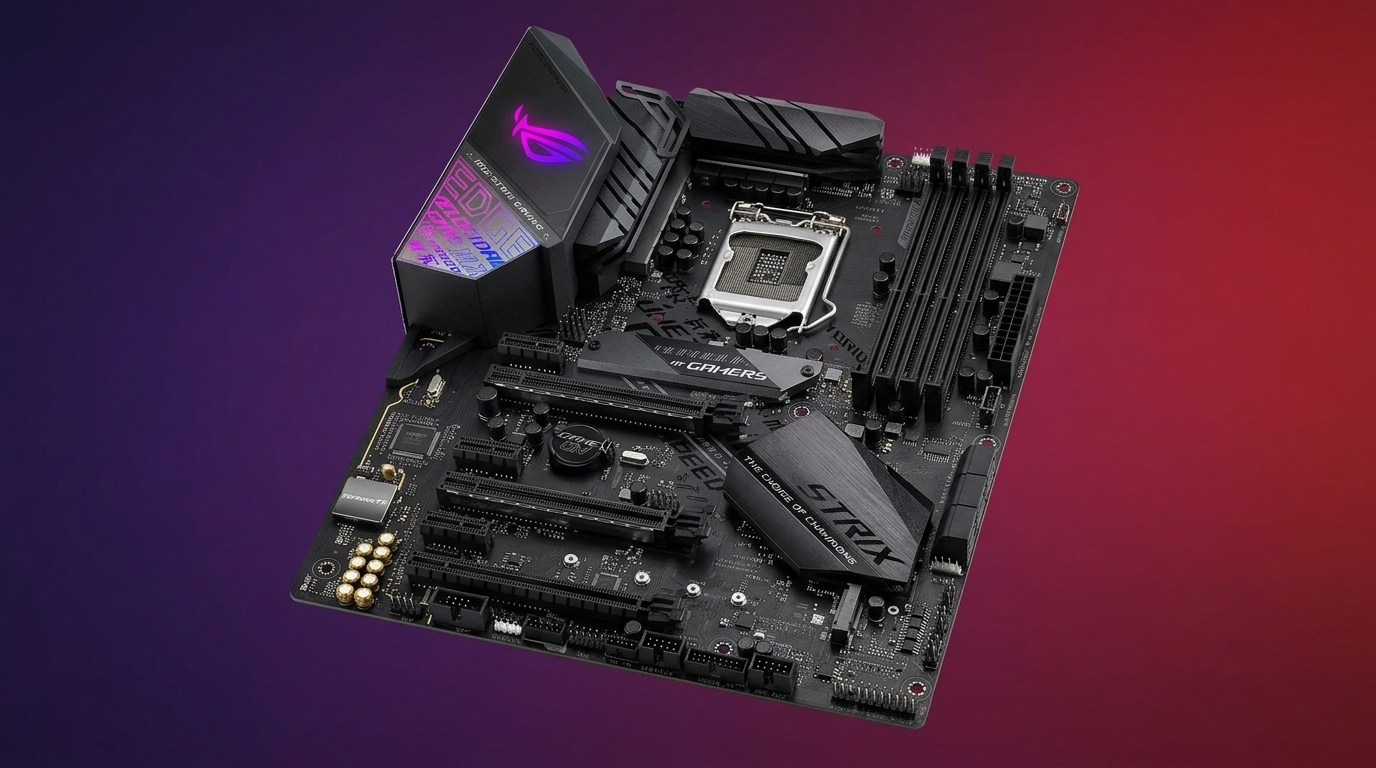
A motherboard connects and coordinates every core component in a PC, including the processor, memory, storage, and expansion cards. The board a builder selects determines which CPUs are compatible, how much RAM the system supports, how many drives and add-in cards it can hold, and which external connections are available on the rear panel. Choosing the wrong motherboard can block a CPU upgrade, limit RAM speed, or remove access to features a build requires.
Motherboards vary by form factor, chipset, socket type, and feature set. A compact Mini-ITX board serves a small-form-factor build, while an E-ATX board supports high-end workstations with multiple expansion cards. The chipset paired with the board controls overclocking support, the number of usable PCIe lanes, and native connectivity options such as Wi-Fi or USB speeds. Matching these specifications to a build’s CPU, case, and intended workload prevents compatibility issues before a purchase.
This guide explains how to evaluate a motherboard across the criteria that affect compatibility and performance: form factor, CPU socket and chipset, RAM and expansion capacity, storage and rear I/O, power delivery, and use-case priorities for gaming, content creation, and budget builds. Each section addresses one specific decision point so a builder can compare boards against their own requirements.
What Is a Motherboard?
A motherboard is the primary printed circuit board that connects and enables communication between a computer’s core components. It holds the CPU socket, RAM slots, chipset, expansion slots, and storage connectors, and it distributes power and data between these parts through embedded circuitry.
The motherboard sits inside the PC case as the central mounting point for the processor, memory modules, graphics card, and storage drives. It manages data transfer through buses and controllers built into its chipset, and it provides the rear I/O panel that exposes USB, display, audio, network, and other external ports. Every other component in a build depends on the motherboard’s socket type, chipset, and physical layout for compatibility.
Motherboard Form Factors: Which Size Fits Your Build
A motherboard’s form factor defines its physical dimensions, mounting hole layout, and the number of expansion slots it can hold, which in turn determines which PC cases and component counts it supports. Builders select a form factor based on case size, the number of expansion cards a build requires, and whether the priority is maximum expandability or a compact footprint.
Larger form factors provide more RAM slots, PCIe slots, and storage connectors, while smaller form factors reduce case size and cost at the expense of expansion capacity. A case only accepts motherboards at or below its supported form factor, so the case and motherboard sizes must be confirmed together before purchase.
ATX vs. Micro-ATX vs. Mini-ITX vs. E-ATX
ATX, Micro-ATX, Mini-ITX, and E-ATX are the four standard motherboard form factors, and they differ primarily in physical size, expansion slot count, and RAM capacity. ATX measures 305 x 244 mm and typically includes four RAM slots and up to seven expansion slots, making it the standard choice for mainstream desktop builds. Micro-ATX measures 244 x 244 mm, fits the same RAM slot count in most cases, but reduces expansion slots to around four, which lowers cost while retaining most mainstream features.
Mini-ITX measures 170 x 170 mm and includes a single expansion slot and two RAM slots, which suits compact builds where case size takes priority over expansion capacity. E-ATX exceeds standard ATX dimensions, commonly reaching 305 x 330 mm, and provides additional RAM slots, expansion slots, and VRM space for high-core-count CPUs and multi-GPU configurations. A builder should confirm case compatibility for E-ATX boards, since not every ATX-rated case accommodates the wider mounting pattern.
Matching the Motherboard to Your CPU and Chipset
A motherboard must match the CPU’s socket type and use a chipset the manufacturer has validated for that CPU generation, since these two factors determine whether the processor will physically fit and function correctly. Socket type governs physical and electrical compatibility, while the chipset controls which features, such as overclocking or PCIe generation, are available to that CPU on that board.
Selecting a CPU and motherboard together, rather than separately, prevents the common error of purchasing an incompatible socket or a chipset that does not support the intended CPU generation.
CPU Socket Compatibility (Intel vs. AMD)
CPU socket compatibility requires that a motherboard’s socket type physically and electrically match the processor being installed, since Intel and AMD use different, non-interchangeable socket designs. Intel’s current desktop platforms use the LGA1851 socket, while AMD’s current desktop platforms use the AM5 socket; a CPU designed for one socket cannot be installed in a board built for the other.
Each socket generation also has a limited compatibility window across chipset families, so a CPU from a newer generation may require a firmware update or may not be supported on an older board even within the same socket type. Checking the motherboard manufacturer’s CPU support list before purchase confirms whether a specific processor is validated for that board.
What the Chipset Controls and Why It Matters
The chipset controls how many PCIe lanes, USB ports, SATA connections, and overclocking options are available to the CPU on a given motherboard. It functions as the communication hub between the processor and secondary components, managing data traffic for storage, expansion cards, and rear I/O beyond what the CPU handles directly.
Chipsets within the same CPU generation are tiered by feature level: entry-level chipsets limit overclocking and expansion, mid-range chipsets add more USB and PCIe connectivity, and high-end chipsets unlock full overclocking support along with the highest lane counts. A build’s chipset tier should match its performance requirements, since a budget chipset paired with a high-end CPU can restrict memory overclocking or limit the number of usable M.2 drives.
Key Features to Compare When Choosing a Motherboard
Beyond socket and chipset compatibility, motherboards differ in RAM capacity, expansion slot count, storage connectivity, rear I/O, and power delivery quality, and these differences affect how a system performs and expands over time. Comparing boards across these five criteria identifies which model matches a build’s component list and future upgrade plans.
Each feature category addresses a distinct part of the system: memory and expansion slots affect capacity, storage and rear I/O affect connectivity, and power delivery affects stability under sustained load.
RAM Slots, Capacity, and Speed Support
RAM slot count and speed support determine how much memory a motherboard can hold and how fast that memory can run. Most ATX and Micro-ATX boards include four RAM slots supporting up to 128 GB or more of total capacity, while Mini-ITX boards typically include two slots with a lower maximum.
Maximum supported RAM speed varies by chipset and board design, and installing memory rated above the board’s validated speed list may require manual configuration or may not run at its rated speed. Builders running memory-intensive workloads, such as video editing or virtualization, should confirm both the maximum capacity and the validated speed list published by the motherboard manufacturer.
Expansion Slots and PCIe Lanes
Expansion slots allow a motherboard to accept add-in cards such as graphics cards, capture cards, and additional storage controllers, while PCIe lanes determine how much bandwidth each slot receives. A board’s primary PCIe x16 slot, typically used for the graphics card, usually receives the highest lane allocation, while secondary slots may run at reduced lane counts depending on the chipset and CPU.
The total number of PCIe lanes is fixed by the CPU and chipset combination, so populating multiple slots simultaneously can reduce the bandwidth available to each one. Builds that require multiple expansion cards, such as a GPU alongside a dedicated capture or storage card, should confirm the board’s lane allocation for each slot before purchase.
Storage Connectivity (M.2 and SATA)
Storage connectivity refers to the number and type of drive connectors a motherboard provides, primarily M.2 slots for NVMe SSDs and SATA ports for SATA drives. M.2 slots vary by supported PCIe generation, which determines maximum sequential read and write speeds for NVMe drives, while SATA ports support both SATA SSDs and traditional hard drives at a fixed lower bandwidth.
Some M.2 slots share bandwidth with SATA ports or secondary PCIe slots, which can disable a SATA port or reduce PCIe lane availability when a given M.2 slot is populated. Reviewing the board’s connectivity diagram in its manual confirms which slots operate independently and which share resources.
Rear I/O and Connectivity (USB, Wi-Fi, LAN)
Rear I/O connectivity covers the external ports available on a motherboard’s back panel, including USB Type-A and Type-C ports, network connections, and integrated wireless options. USB port count and speed vary by chipset tier, with higher-end boards typically offering more high-speed USB ports and additional Type-C connections.
Wired LAN speed ranges from standard Gigabit Ethernet to 2.5 Gigabit or faster on higher-end boards, and integrated Wi-Fi, when included, adds wireless networking without a separate adapter card. Builders who need specific peripherals, multiple displays, or high-speed wired networking should match rear I/O against their peripheral list before selecting a board.
Power Delivery (VRMs) for Stability and Overclocking
Power delivery, provided by a motherboard’s voltage regulator modules (VRMs), converts and stabilizes power from the PSU to the CPU, and its quality directly affects system stability under sustained load and overclocking headroom. A VRM design with more phases and better heat dissipation sustains higher, more consistent power delivery to the CPU during demanding workloads than a minimal VRM design.
Boards intended for high-core-count CPUs or manual overclocking typically include reinforced VRM heatsinks and higher phase counts to manage the additional heat and current draw. Pairing a high-power CPU with a board that has minimal VRM cooling can cause thermal throttling under sustained load, even when the CPU itself is not overheating.
Choosing a Motherboard for Your Use Case
The right motherboard depends on how the system will be used, since gaming, content creation, and budget builds each prioritize different features. Matching a board’s chipset tier, expansion capacity, and connectivity to the intended workload avoids paying for unused features or underprovisioning a system for its actual demands.
The following priorities apply chipset, storage, and connectivity criteria already described to three common build categories: gaming, workstation or content creation, and budget-conscious builds.
Best Motherboard Priorities for Gaming PCs
Gaming PCs benefit most from a motherboard with a full-bandwidth primary PCIe x16 slot, at least one fast M.2 NVMe slot, and a VRM capable of sustaining the CPU’s rated power draw. These priorities support the graphics card and CPU, which handle most of the workload in gaming, while additional expansion slots and RAM capacity matter less than in workstation builds.
A mid-range chipset generally covers gaming requirements, since most gaming workloads do not require the highest possible PCIe lane count or extreme overclocking headroom. Builders planning to overclock their CPU or run high-refresh-rate displays with multiple peripherals should prioritize boards with reinforced VRMs and sufficient rear USB connectivity.
Motherboards for Workstations and Content Creation
Workstation and content creation builds benefit from motherboards with high RAM capacity, multiple M.2 slots, and sufficient PCIe lanes to support multiple expansion cards simultaneously. These workloads, including video editing, 3D rendering, and virtualization, place sustained demand on memory capacity and storage throughput rather than single-threaded gaming performance.
E-ATX or high-end ATX boards typically provide the RAM slot count and expansion capacity these workloads require, along with chipsets that support the highest available PCIe generation for fast scratch-disk storage. Builders running multiple simultaneous applications or large file transfers should prioritize total PCIe lane availability over single-slot bandwidth.
Budget Builds vs. High-End Builds
Budget builds prioritize a motherboard with sufficient core compatibility and connectivity at the lowest reliable cost, while high-end builds prioritize maximum expansion capacity, VRM quality, and connectivity regardless of price. A budget-tier motherboard typically includes an entry-level chipset, fewer USB and M.2 slots, and a lighter VRM design, which is adequate for CPUs that do not draw high sustained power.
High-end builds justify their added cost through greater PCIe lane availability, higher RAM speed support, reinforced power delivery, and premium connectivity such as multiple 2.5 Gigabit LAN ports or Wi-Fi 6E. A build’s CPU power draw and expansion requirements determine whether the added cost of a high-end board translates into a measurable benefit.
Does the Motherboard Affect PC Performance?
A motherboard does not directly increase raw CPU or GPU performance, but it affects performance indirectly by controlling RAM speed support, PCIe bandwidth, and power delivery stability. A board with a lower maximum supported RAM speed can prevent memory from running at its rated speed, which reduces performance in memory-sensitive applications.
Insufficient VRM quality can cause a CPU to throttle under sustained load even when cooling is adequate, since throttling in that case results from unstable power delivery rather than heat alone. Similarly, a chipset with fewer PCIe lanes can reduce bandwidth to a secondary M.2 drive or expansion card when multiple slots are populated simultaneously. These effects mean the motherboard sets the ceiling for what other components can achieve rather than adding performance on its own.
How to Choose the Right Motherboard
Choosing the right motherboard starts with confirming CPU socket and chipset compatibility, followed by matching form factor to the case, and then comparing RAM, expansion, storage, and power delivery against the build’s intended use. This order prevents incompatible purchases before comparing secondary features that affect long-term usability.
After confirming socket and case compatibility, a builder should list required features, such as minimum RAM capacity, the number of M.2 slots, specific rear I/O ports, and whether overclocking support is needed. Comparing candidate boards against this list, rather than choosing by price or brand alone, narrows selection to boards that meet the build’s actual requirements. Reviewing the manufacturer’s specification sheet and QVL (Qualified Vendor List) for RAM confirms that a chosen board and memory kit have been validated to work together.
Upgrading Your Motherboard: When It’s Worth It
Upgrading a motherboard is worth the cost when the current board cannot support a desired CPU upgrade, lacks required expansion slots, or does not provide connectivity the build now needs. Since socket and chipset compatibility are fixed at purchase, a CPU upgrade to a new generation often requires a new motherboard even when the current board otherwise functions correctly.
A motherboard upgrade is generally not necessary when the current board still supports the target CPU, provides sufficient RAM and storage capacity, and meets the build’s connectivity needs. Because a motherboard swap typically requires reinstalling the operating system or performing driver changes, and may require a new case if the form factor changes, builders should confirm that the upgrade addresses a genuine limitation rather than a marginal feature gain.
How to Find Out What Motherboard You Currently Have
The motherboard model installed in a Windows PC can be found by opening the System Information tool and checking the “BaseBoard Manufacturer” and “BaseBoard Product” fields, which display the board’s brand and model number. Typing “System Information” into the Windows search bar and opening the application provides this information without opening the case.
An alternative method uses the Command Prompt: running the command wmic baseboard get product,Manufacturer returns the same manufacturer and model details in text form. For a physical confirmation, the model name and revision number are typically printed directly on the motherboard’s surface, though this method requires opening the case and locating a clear view of the board.